Code: UST00171A000
CHARACTERISTICS
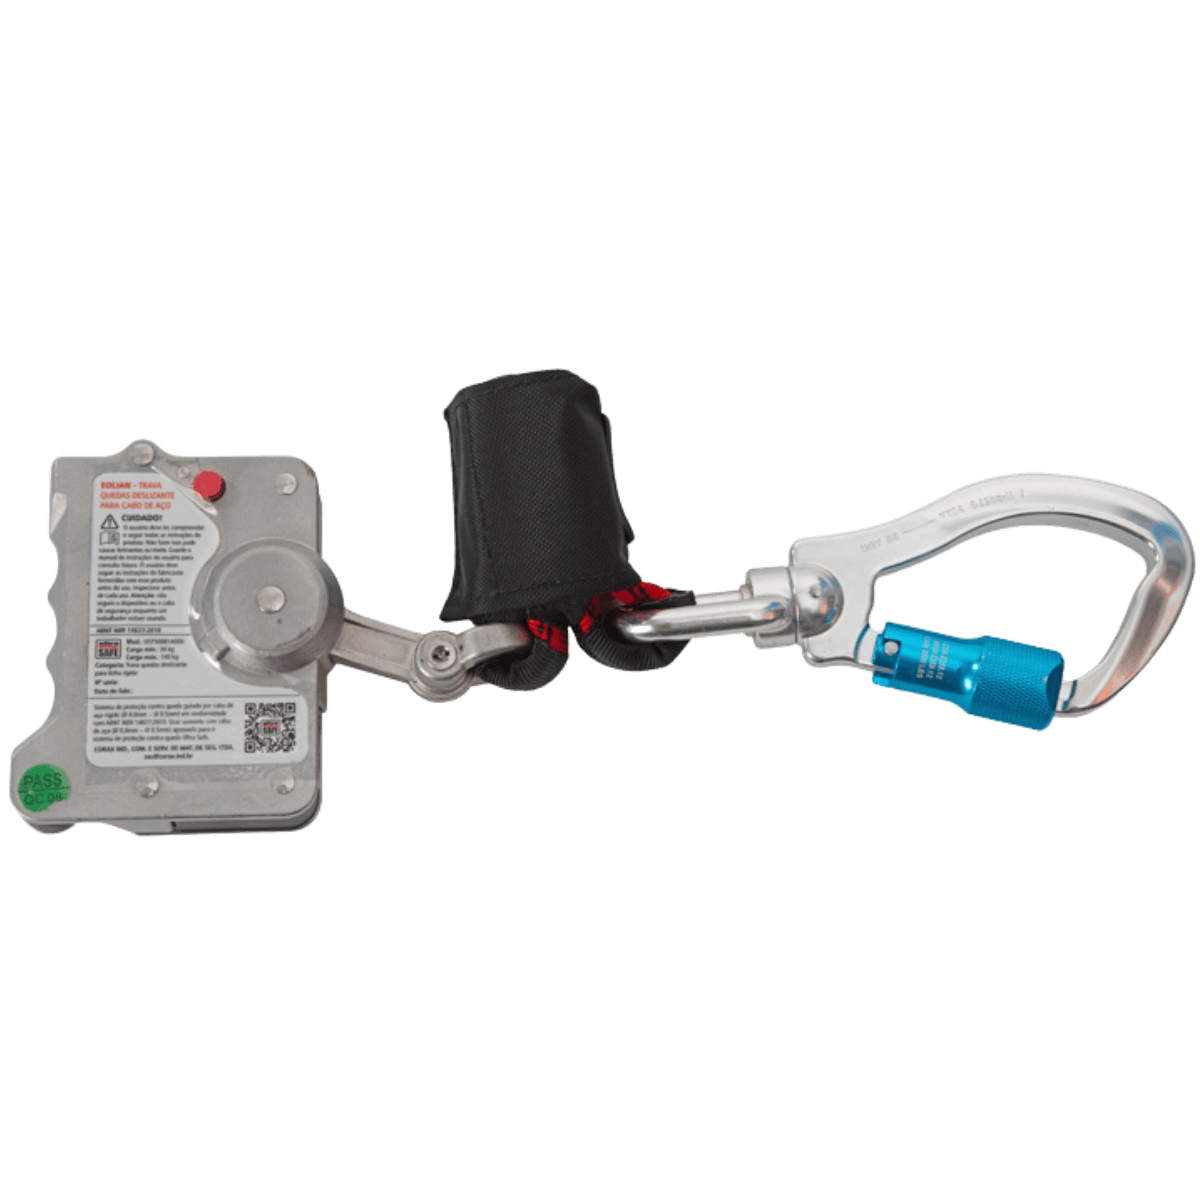
• Fall arrest body and shaft: steel
• Cam: steel
• Connectors: in steel or aluminum
• Extender: L = 36 cm
• Total length (Lt) = measured from the center of the fall arrest to the inner part of the connector L = 45 cm
NON-AGGRESSIVE RAW MATERIAL
This equipment is manufactured with raw materials that do not contain substances known or suspected to cause harm to the user.
WEIGHT AND FREE-FALL ZONE (FFZ)
Weight: 690 g
Fall factor: 2
Load: 100 kg
FFZ: 2.20 m
RECOMMENDED USE
• Fall protection during vertical movement (ascent and descent);
• Rope access;
• Flexible lifelines;
• Roof work;
• Elevator installation and maintenance;
• Metal structures;
• Mobile ladders – Poles;
• Facades;
• Confined spaces.
ATTENTION: Check that the rope diameter matches the one specified on the fall arrest device body. Use only ropes from 11 to 12 mm that comply with ABNT 15.986: ropes with core and sheath of low elongation coefficient for rope access, with which the fall arrest devices were tested.
ADVANTAGES AND BENEFITS
• The Neo Brake fall arrest device is super compact and easy to handle;
• It has a very efficient locking system that was tested in a laboratory accredited by INMETRO;
• The device features an integrated and non-removable connector, thus preventing the possibility of connector loss.
INSTALLATION ON THE ROPE
1. Position the fall arrest device so that the arrow engraved on the body of the device is facing upwards.
2. Pull out the first side safety lock. Then unscrew the second safety lock counterclockwise to automatically unlock the body, thus releasing and opening the device.
3. Install the rope inside the central channel of the fall arrest device and then perform the reverse process of opening it, screwing the second safety lock clockwise. Then reattach the first side safety lock.
4. Perform the reverse process of opening it, screwing the second safety lock clockwise.
5. Then reattach the first side safety lock.
6. Test the locking direction of the fall arrest device before starting work by pulling it down and checking if the system works correctly.
7. Connect the connector to the anchoring point of the harness (chest or back) indicated by the letter A.
Discover similar products